
- 1
Have a locker shipping rate
In Shopify, Settings → Shipping and delivery, add a rate such as “LP Express parcel locker”. Lockership recognises the carrier from the rate name; you can add your own words in Settings → Parcel locker picker → Advanced.
- 2
Choose where the picker shows
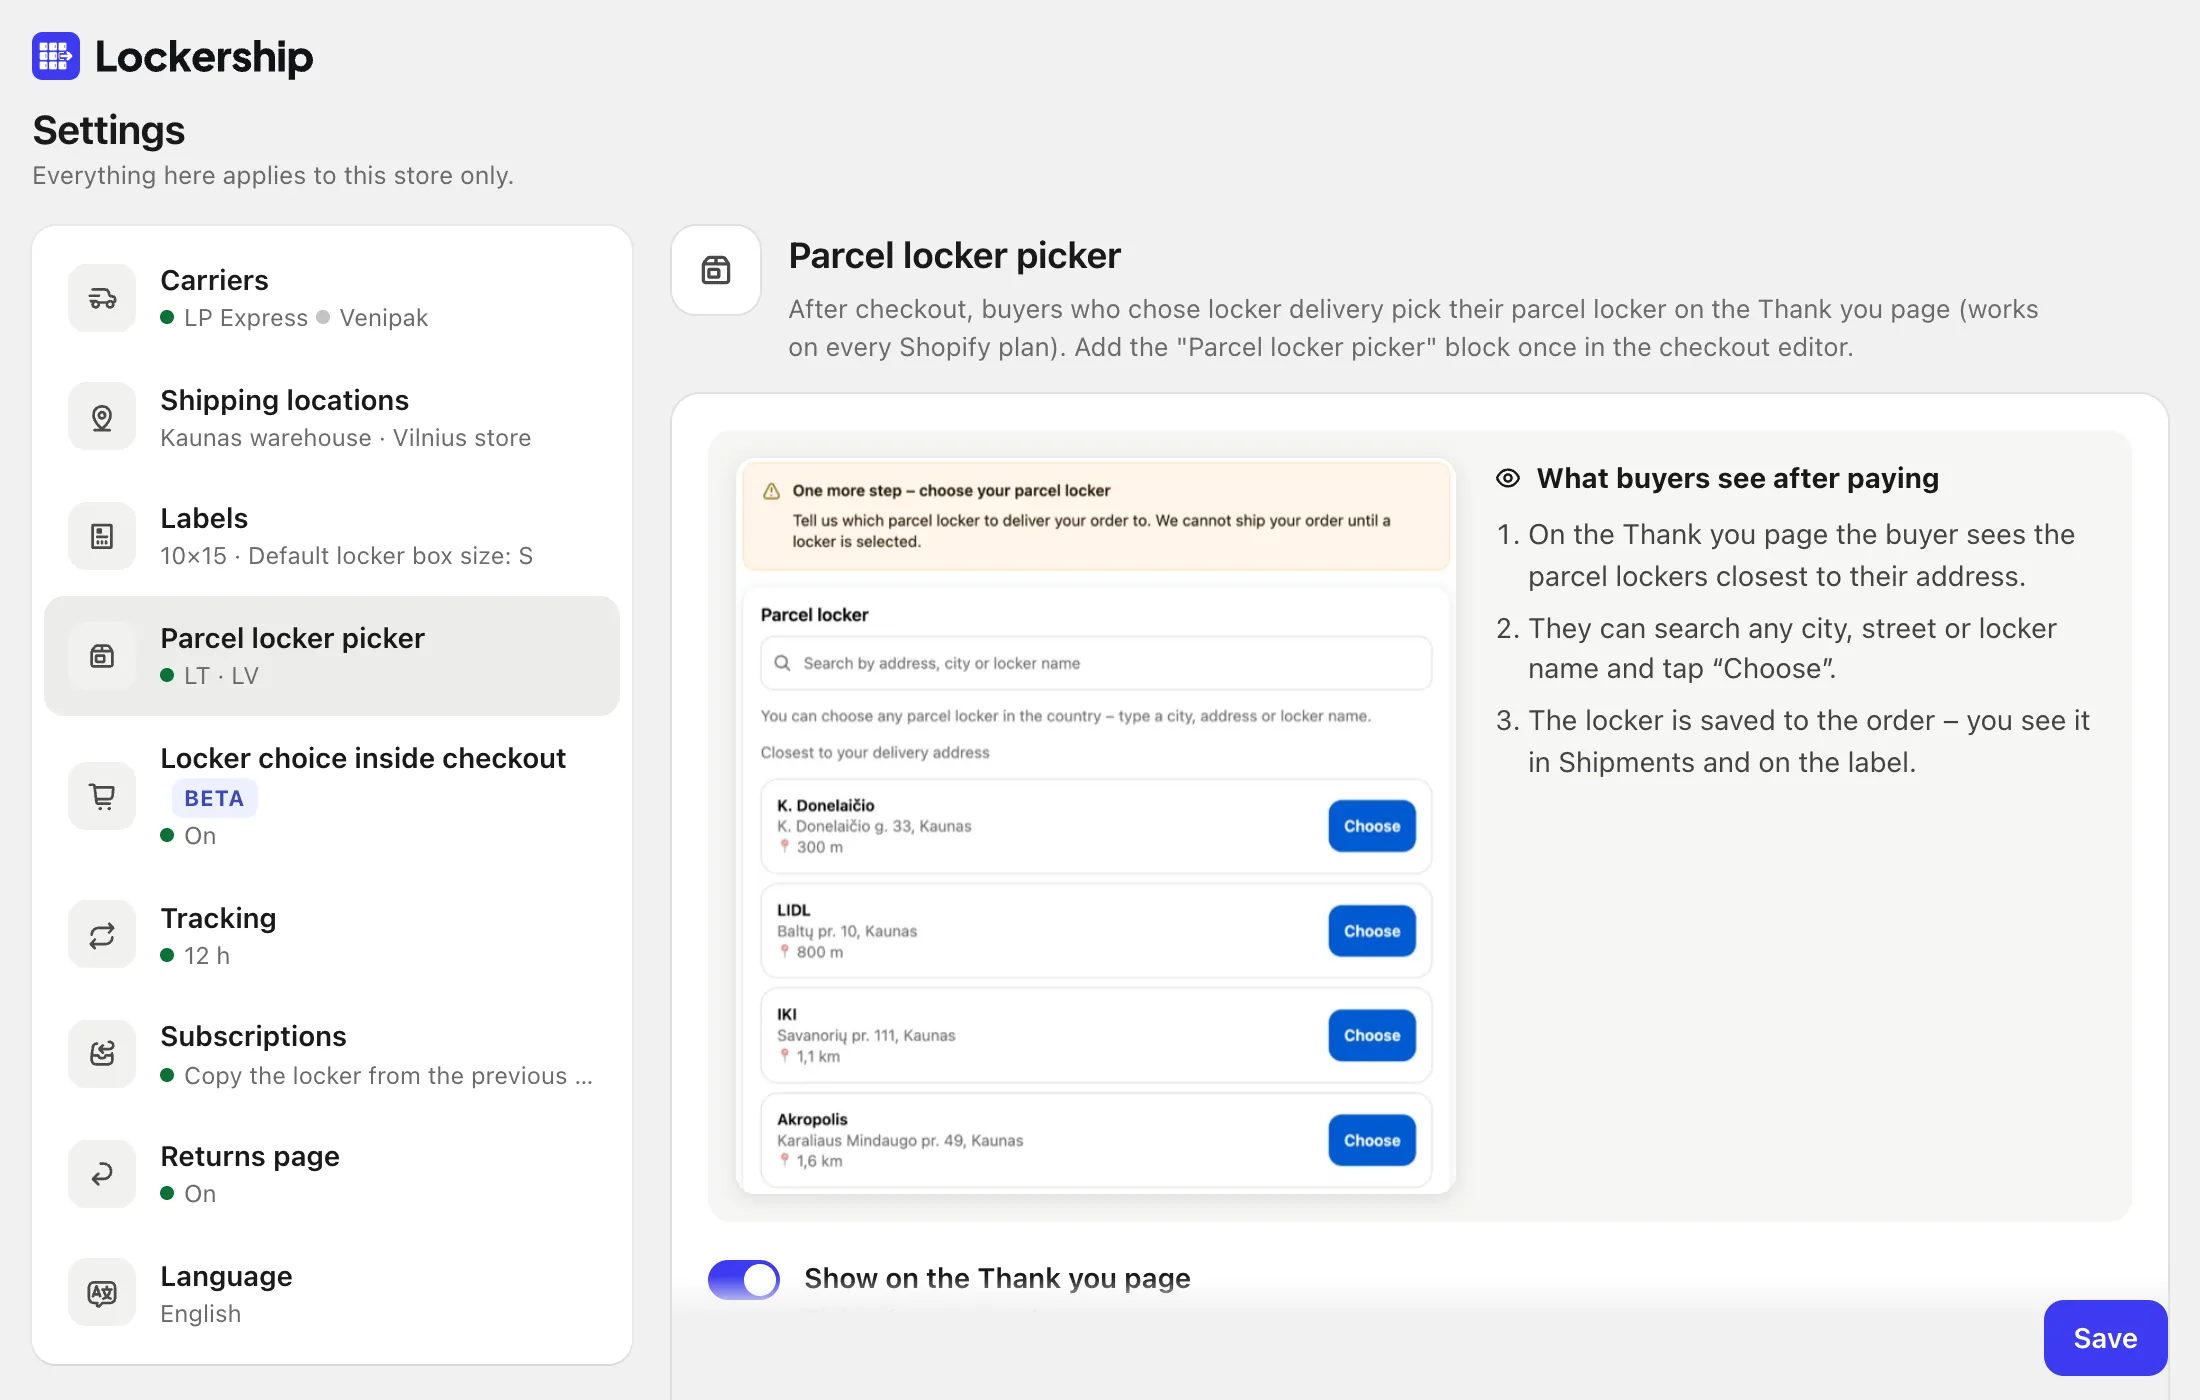
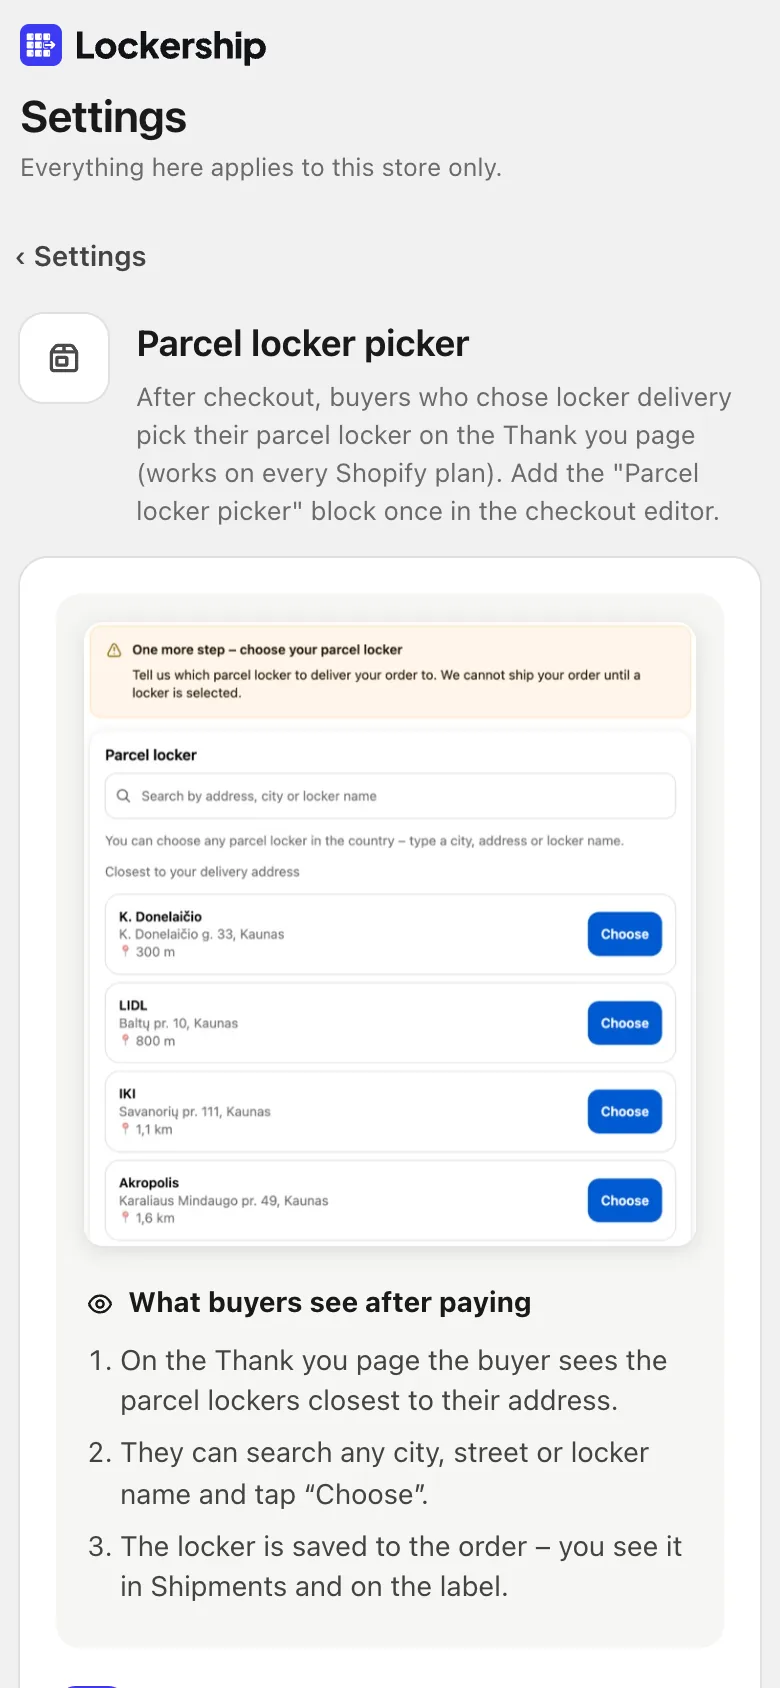
In Settings → Parcel locker picker keep “Show on the Thank you page” and “Show on the Order status page” on, and tick the countries. Then press Open checkout editor.
- 3
Add the block on the thank-you page
In the checkout editor, open the page selector at the top and choose Thank you. Click Add block, open Apps and choose the Lockership locker picker. Drag it high on the page, then Save.
- 4
Do the same on the order status page
Switch the page selector to Order status, add the same block and save. Buyers can then change the locker later from the link in their order email, until you create the label.
- 5
Test with an order
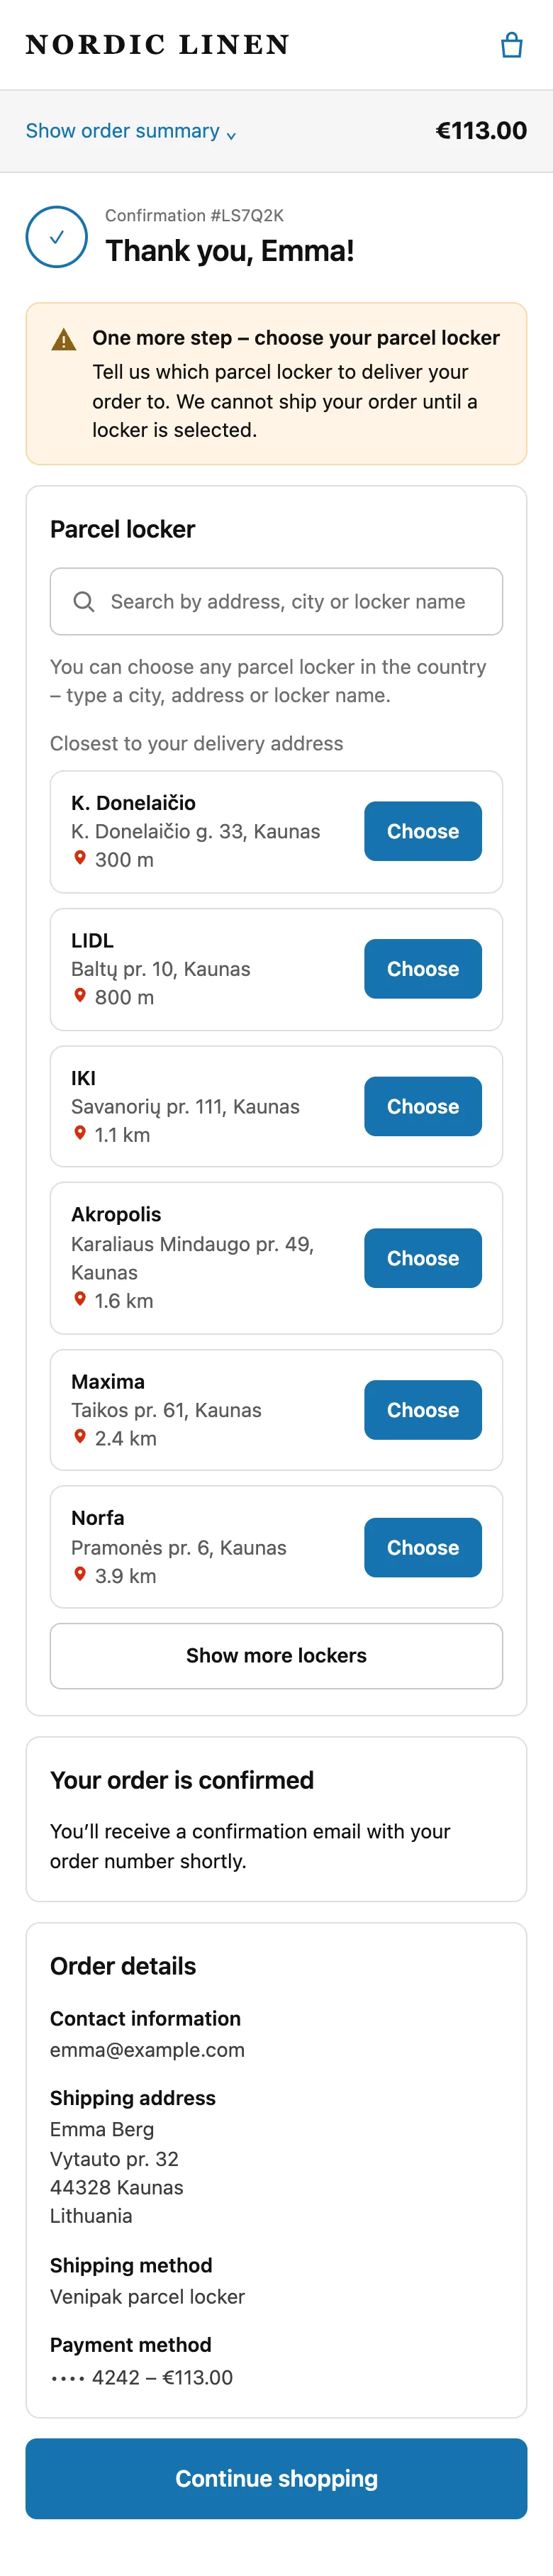
Place a test order with the locker rate. The picker shows the nearest lockers to the delivery address; the chosen one appears on the order in Lockership’s Shipments list.
Try Lockership on your store before it reaches the App Store
We are starting with a small group of Shopify stores in Lithuania, Latvia and Estonia. Leave your email, and I will help you connect your carriers.