
- 1
Turn on the returns page
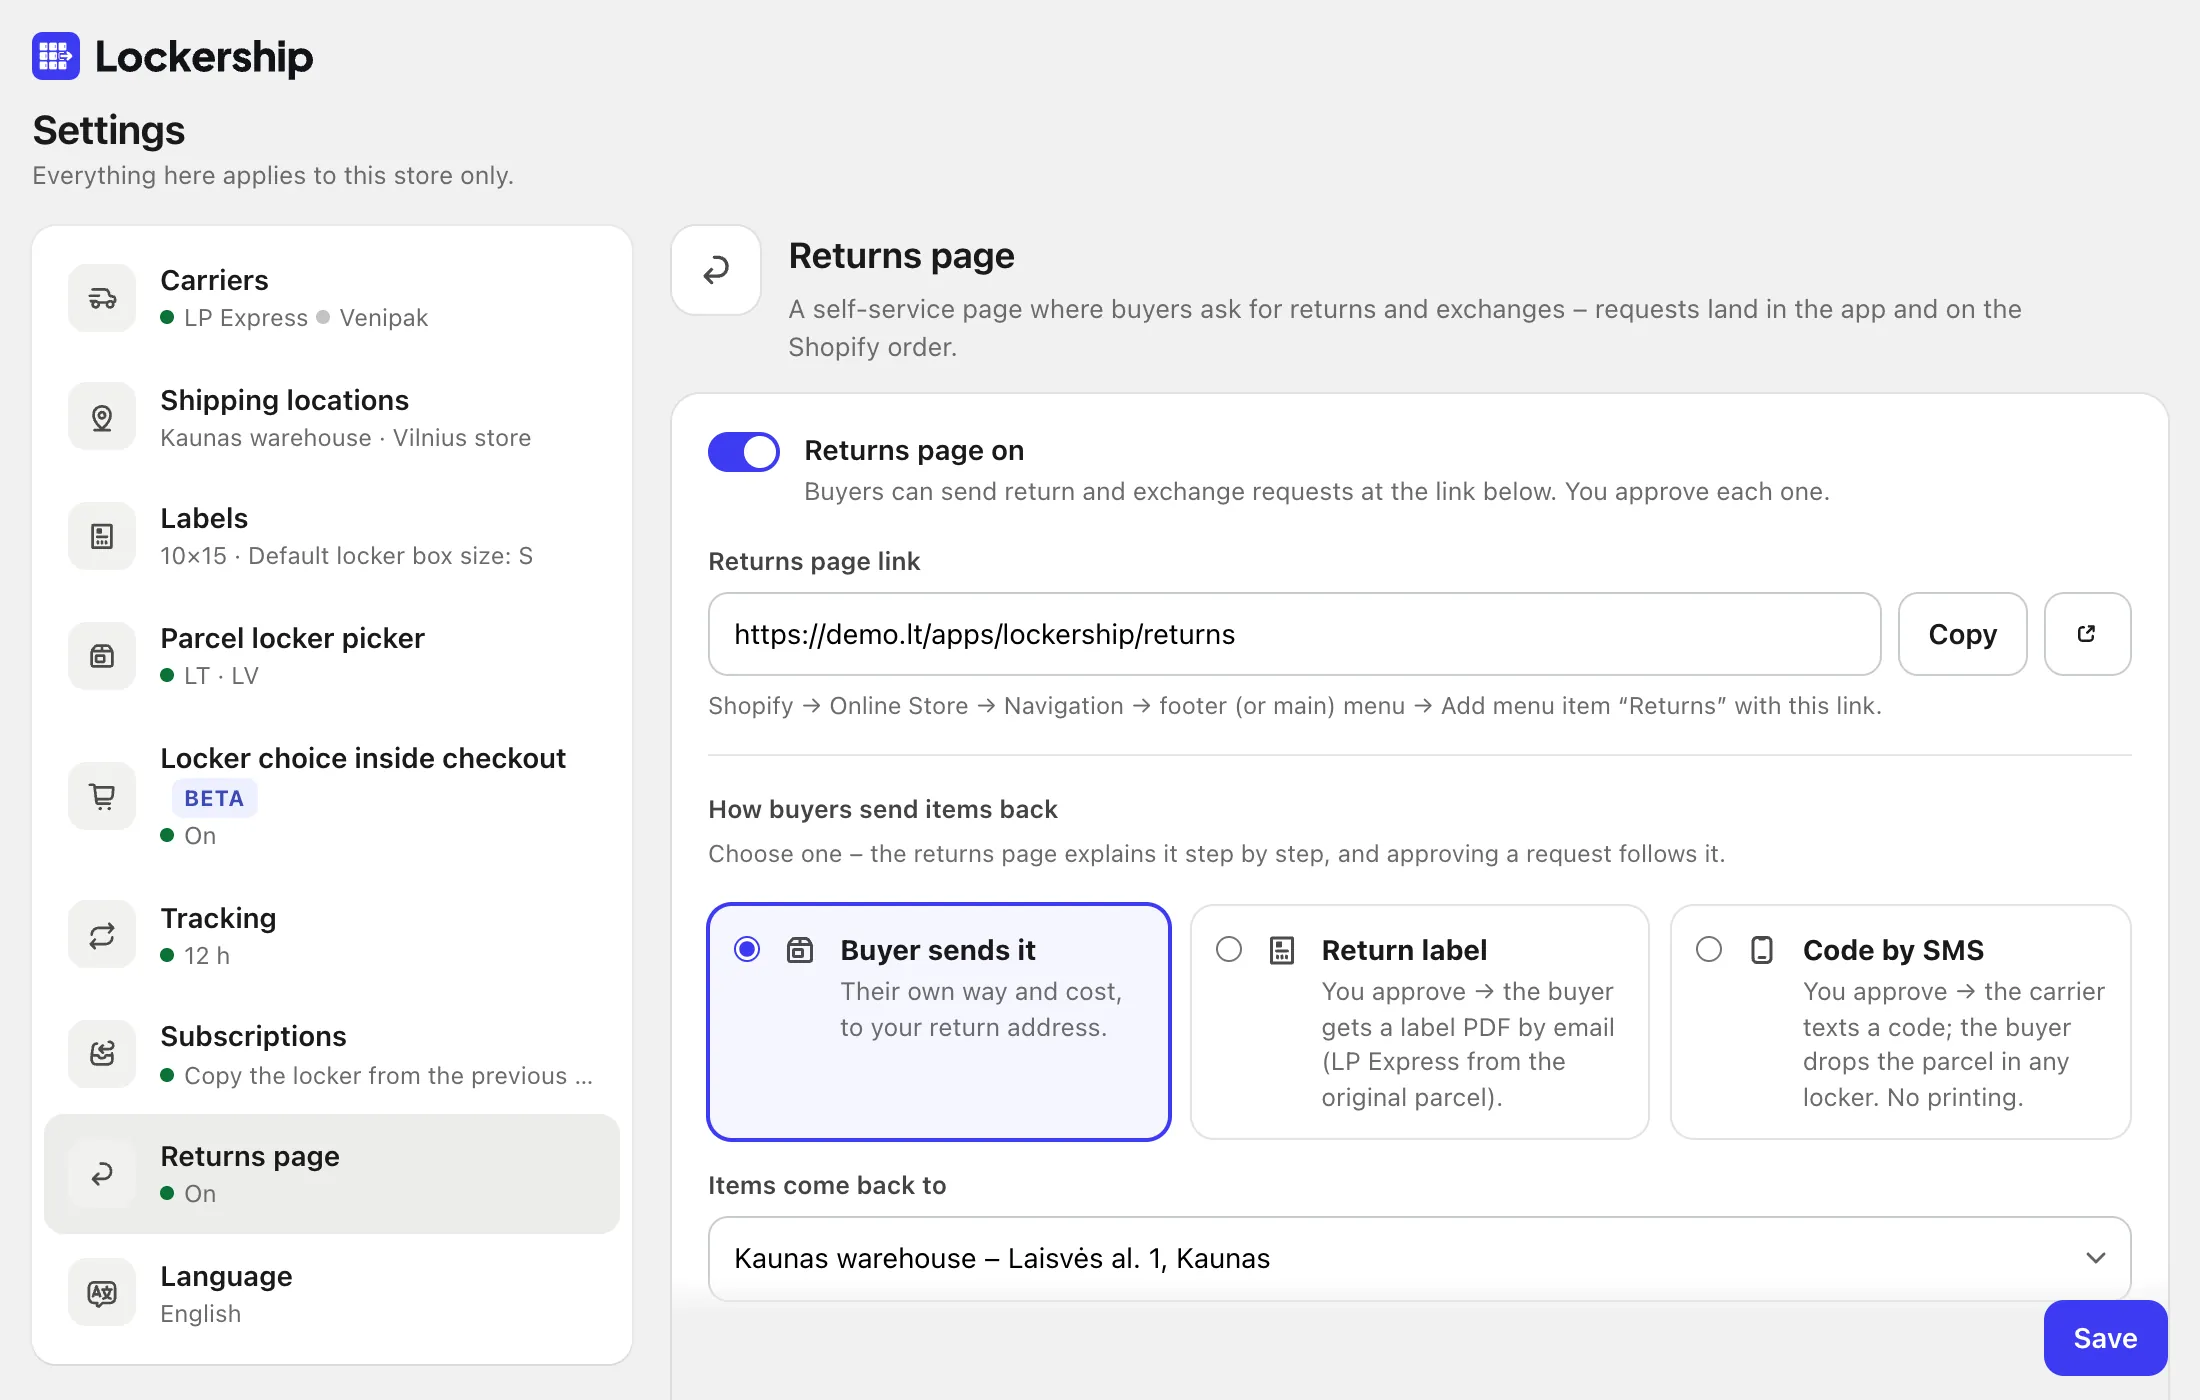
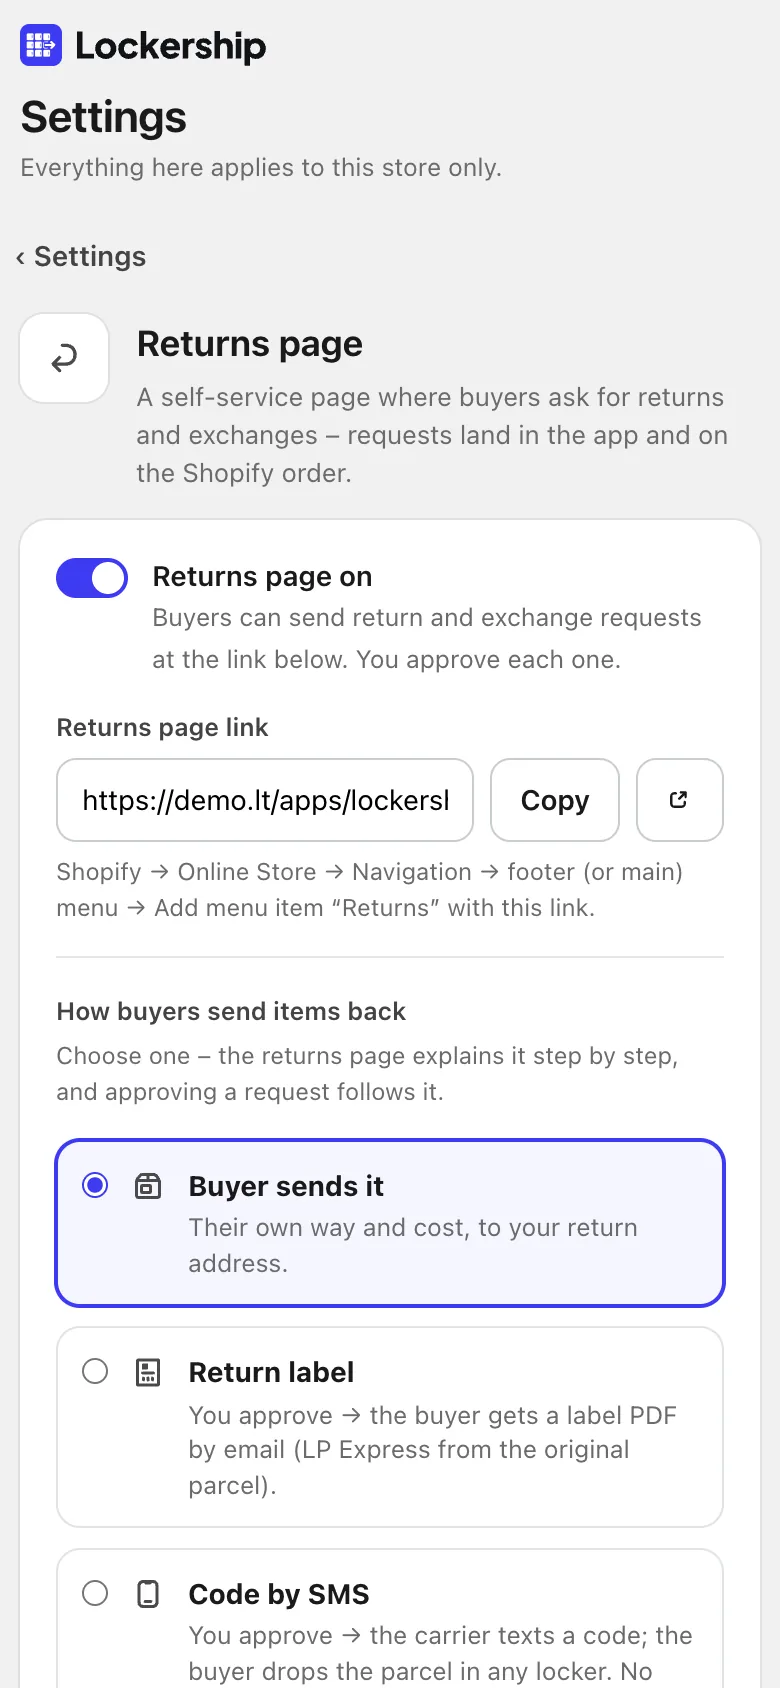
In Settings → Returns page, switch on “Returns page on”. Set how many days buyers have to ask, a return fee if you charge one, and what they can ask for: refund, store credit, exchange.
- 2
Choose how items come back
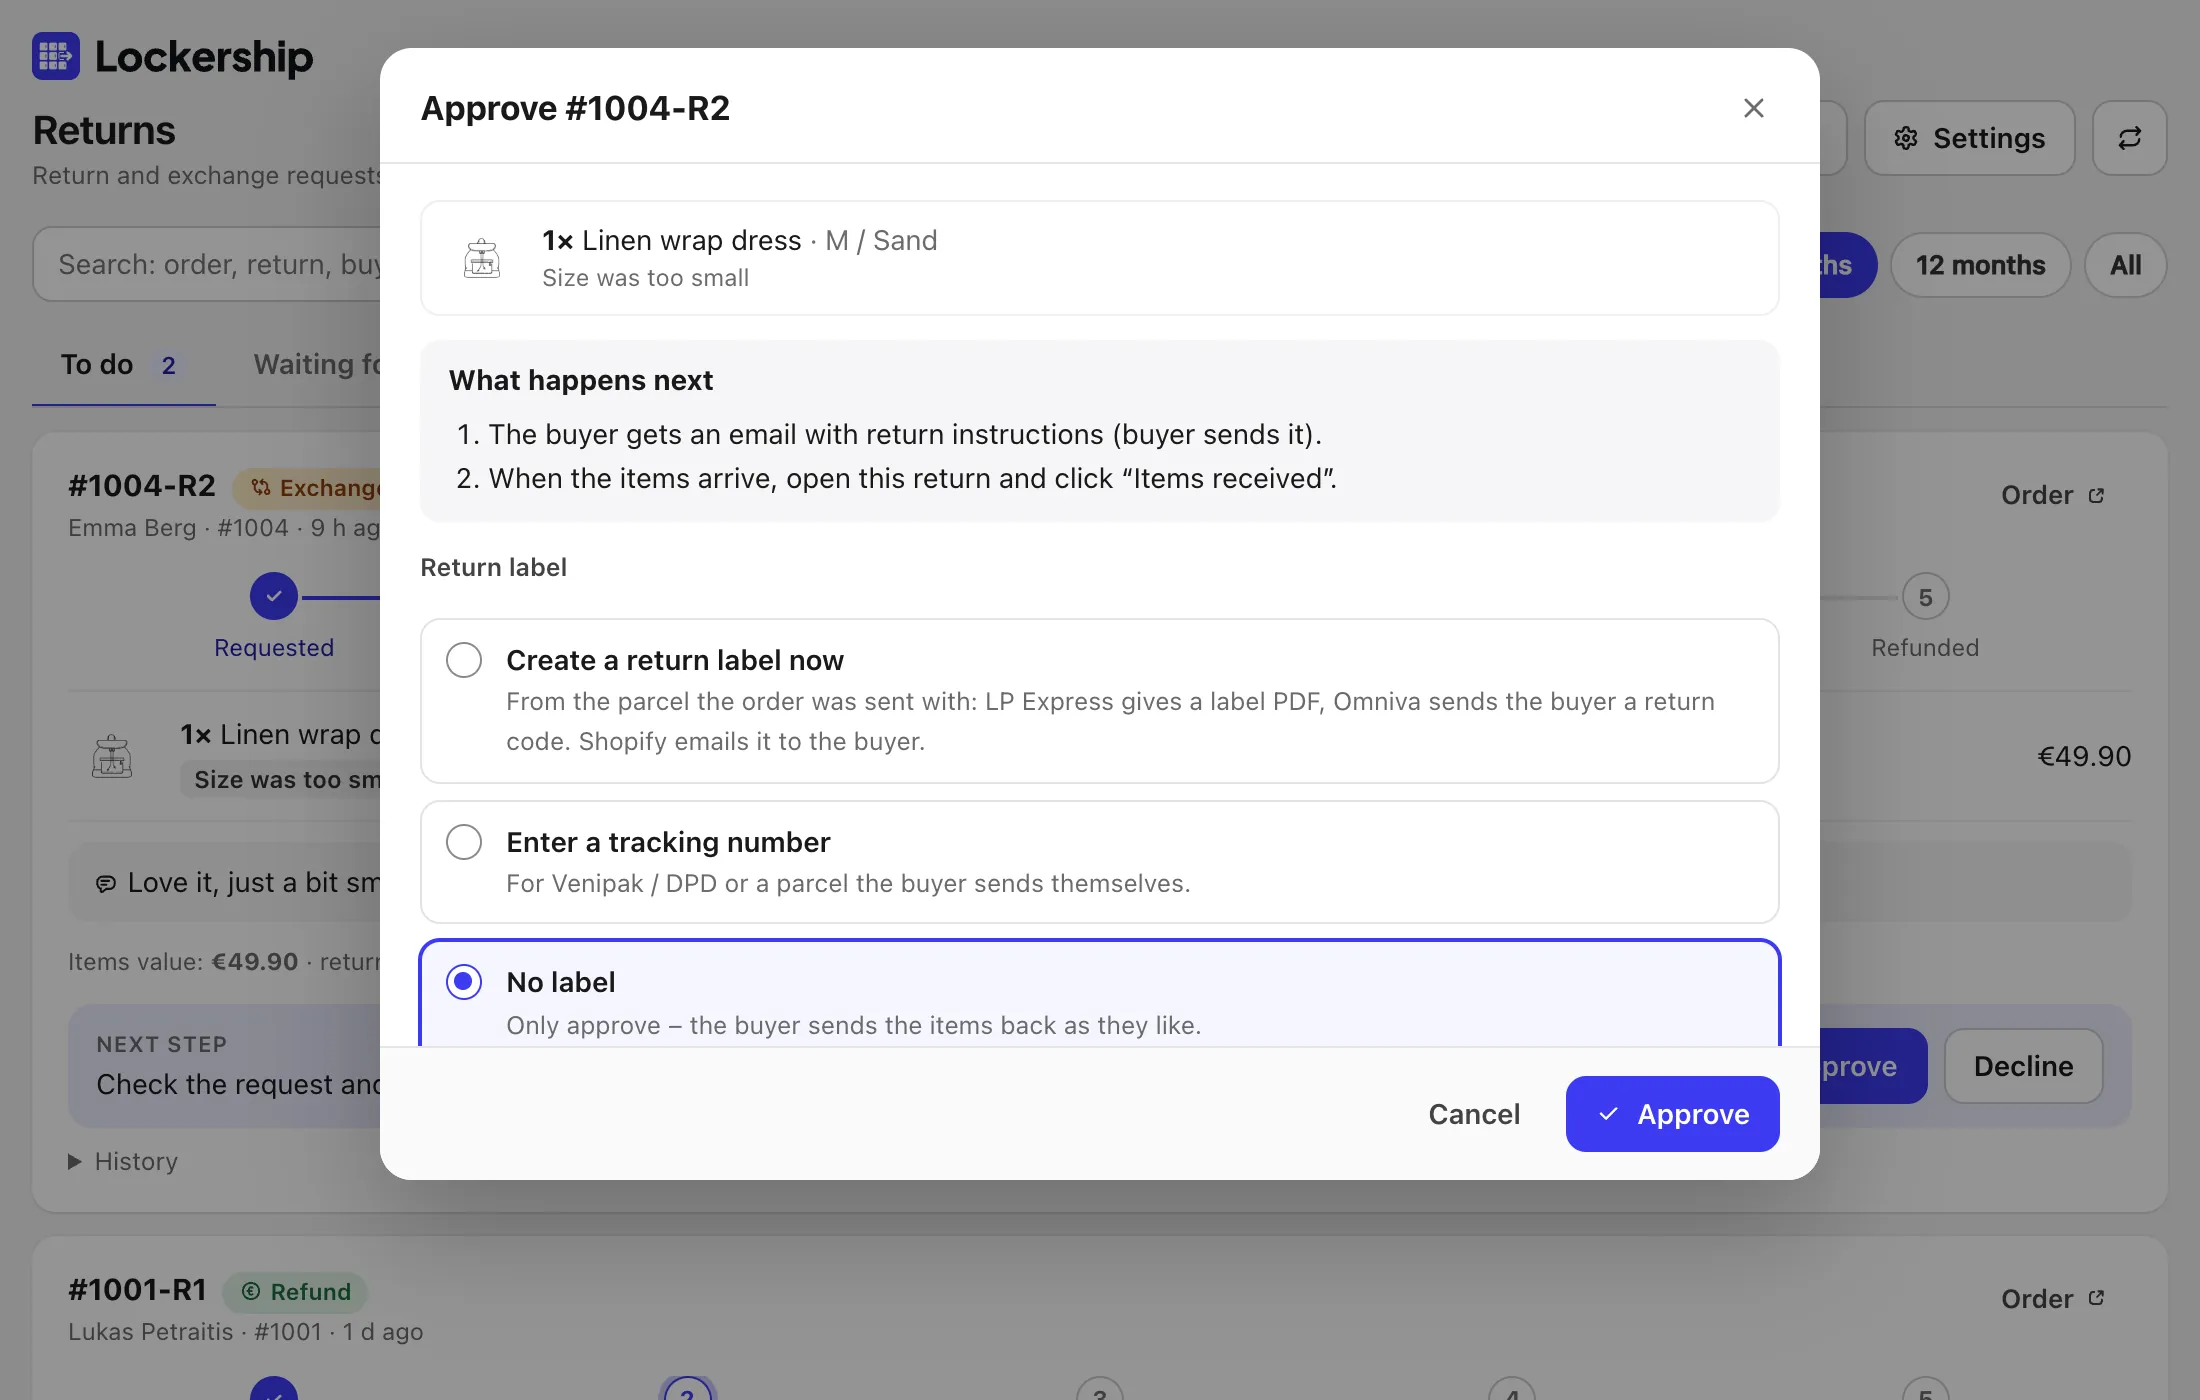
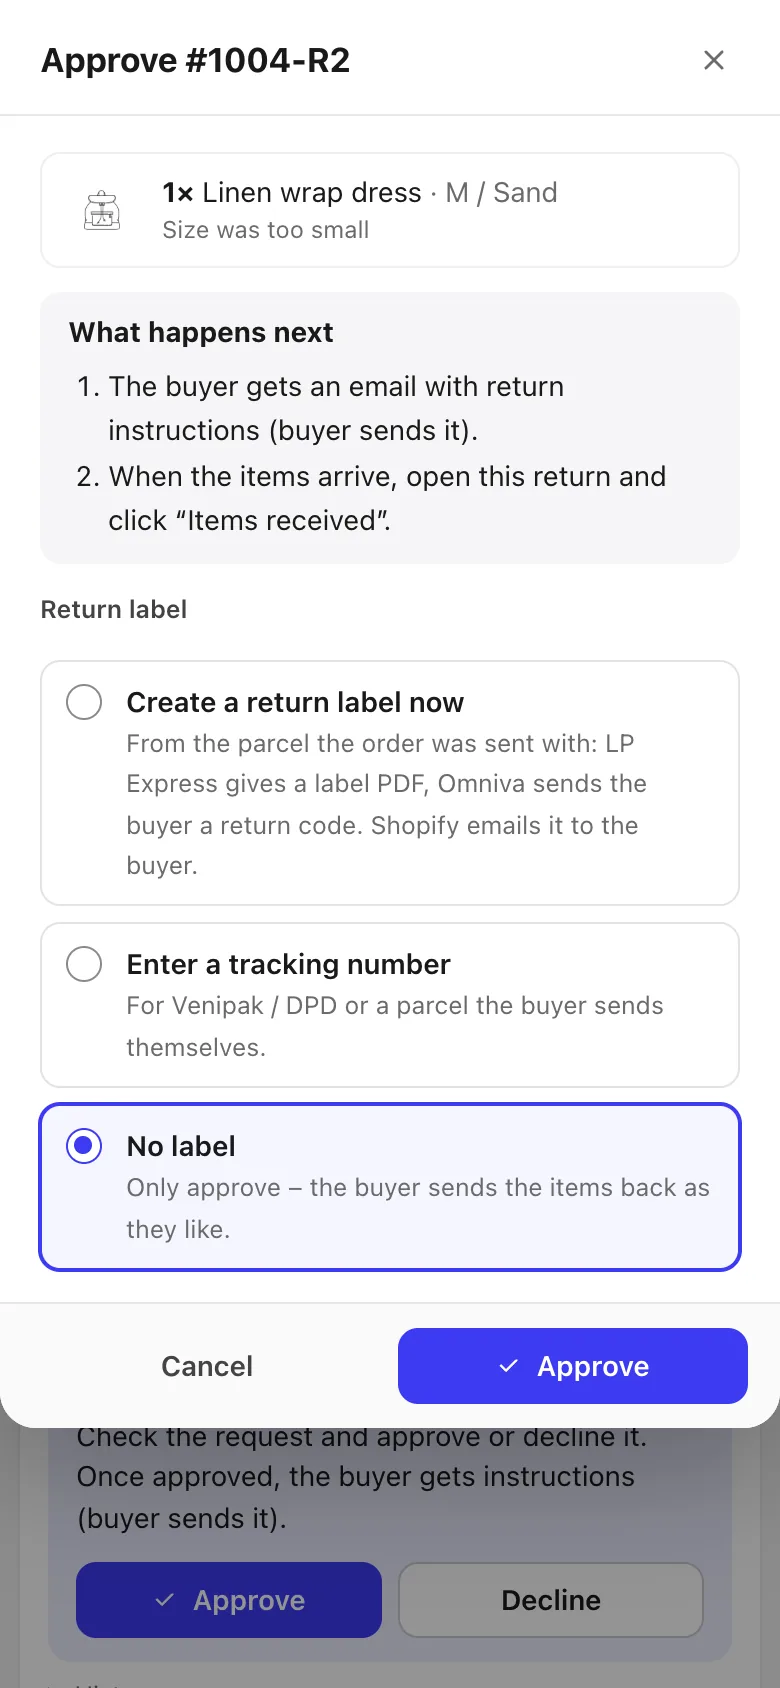
Buyer sends it to your return address, Return label emailed after you approve (LP Express), or Code by SMS from Omniva, with nothing to print. Edit the step-by-step instructions buyers see, in every language.
- 3
Add the link to your menu
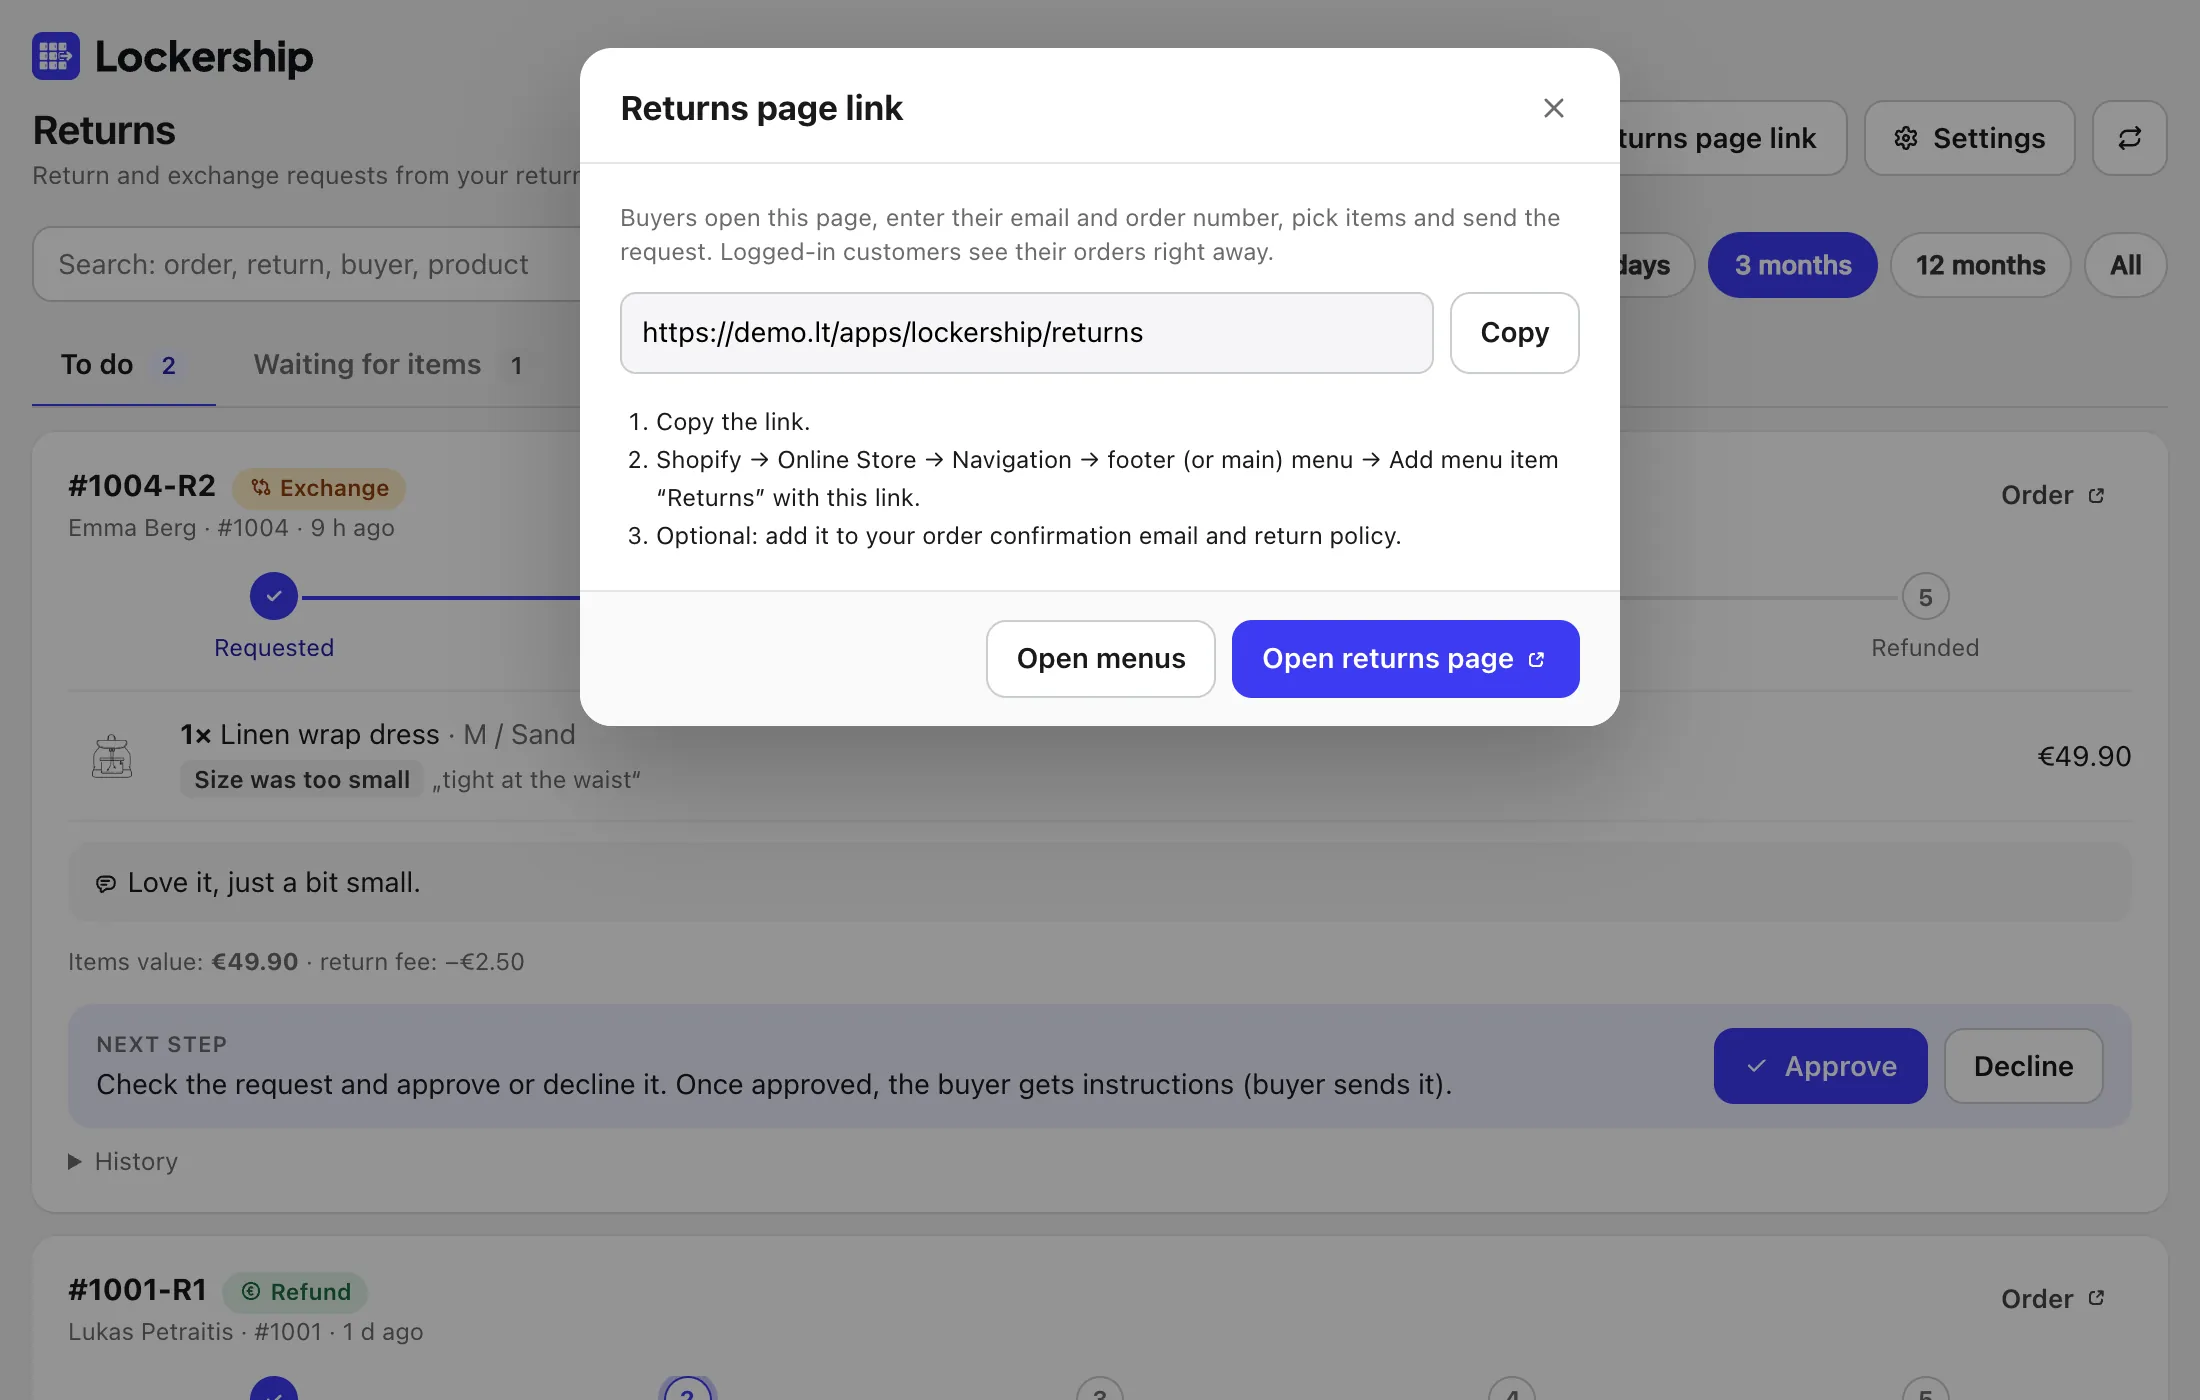
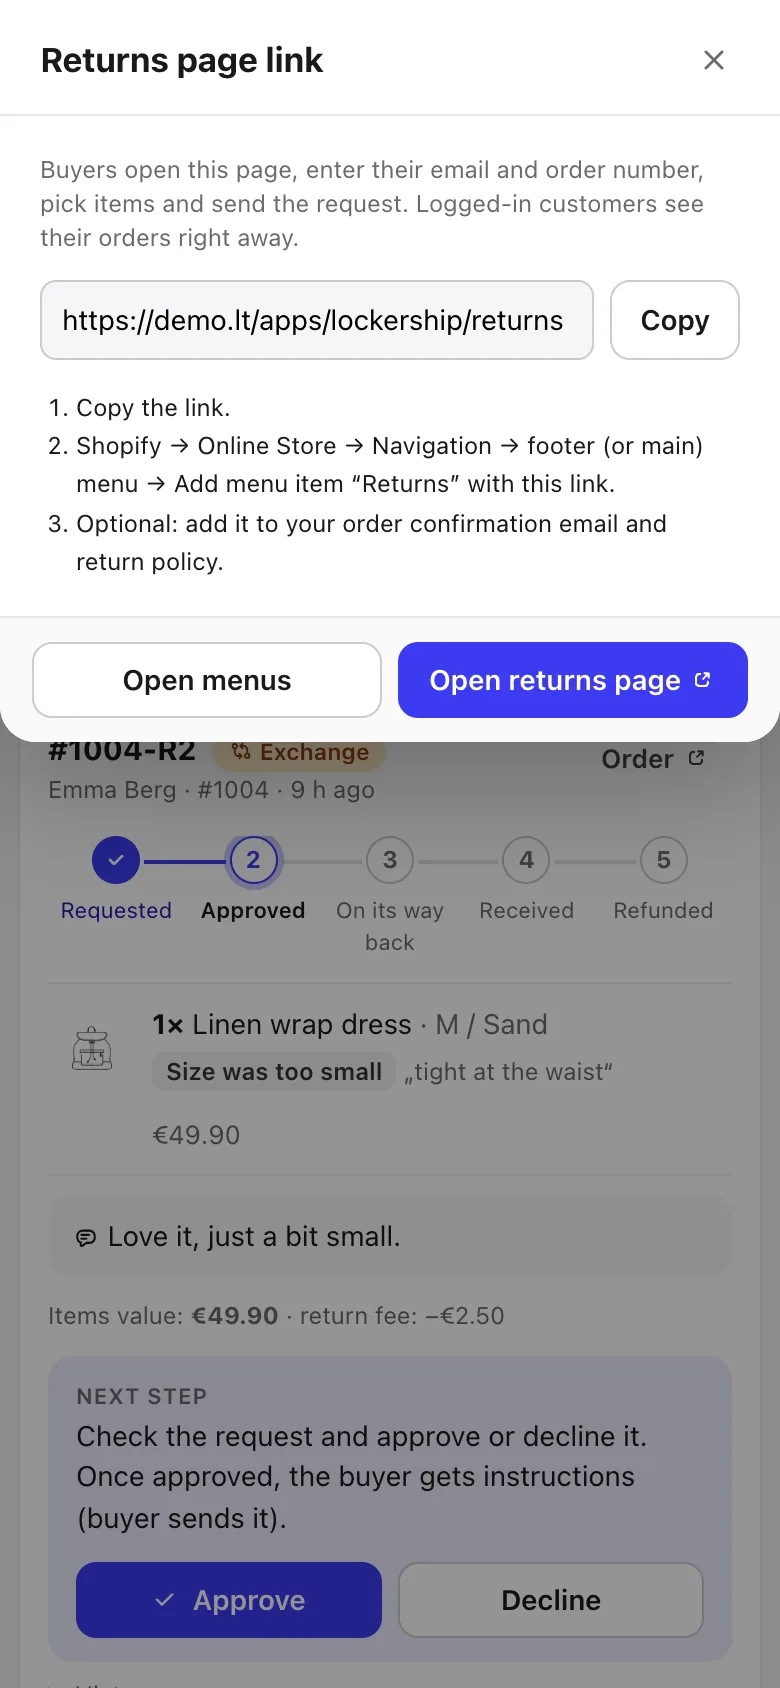
In Returns → Returns page link, copy the link. In Shopify go to Online Store → Navigation, open the footer or main menu and add a menu item “Returns” with that link.
- 4
Handle the first request
New requests appear under Returns → To do. Approve or decline; the card always shows the next step. When the parcel arrives, press Items received, tick what goes back to stock and refund.
Try Lockership on your store before it reaches the App Store
We are starting with a small group of Shopify stores in Lithuania, Latvia and Estonia. Leave your email, and I will help you connect your carriers.