
- 1
Install the app
Open the install link we send you (or Lockership in the Shopify App Store once it is listed) and approve the permissions. Lockership opens inside Shopify admin under Apps.
- 2
Add a shipping location
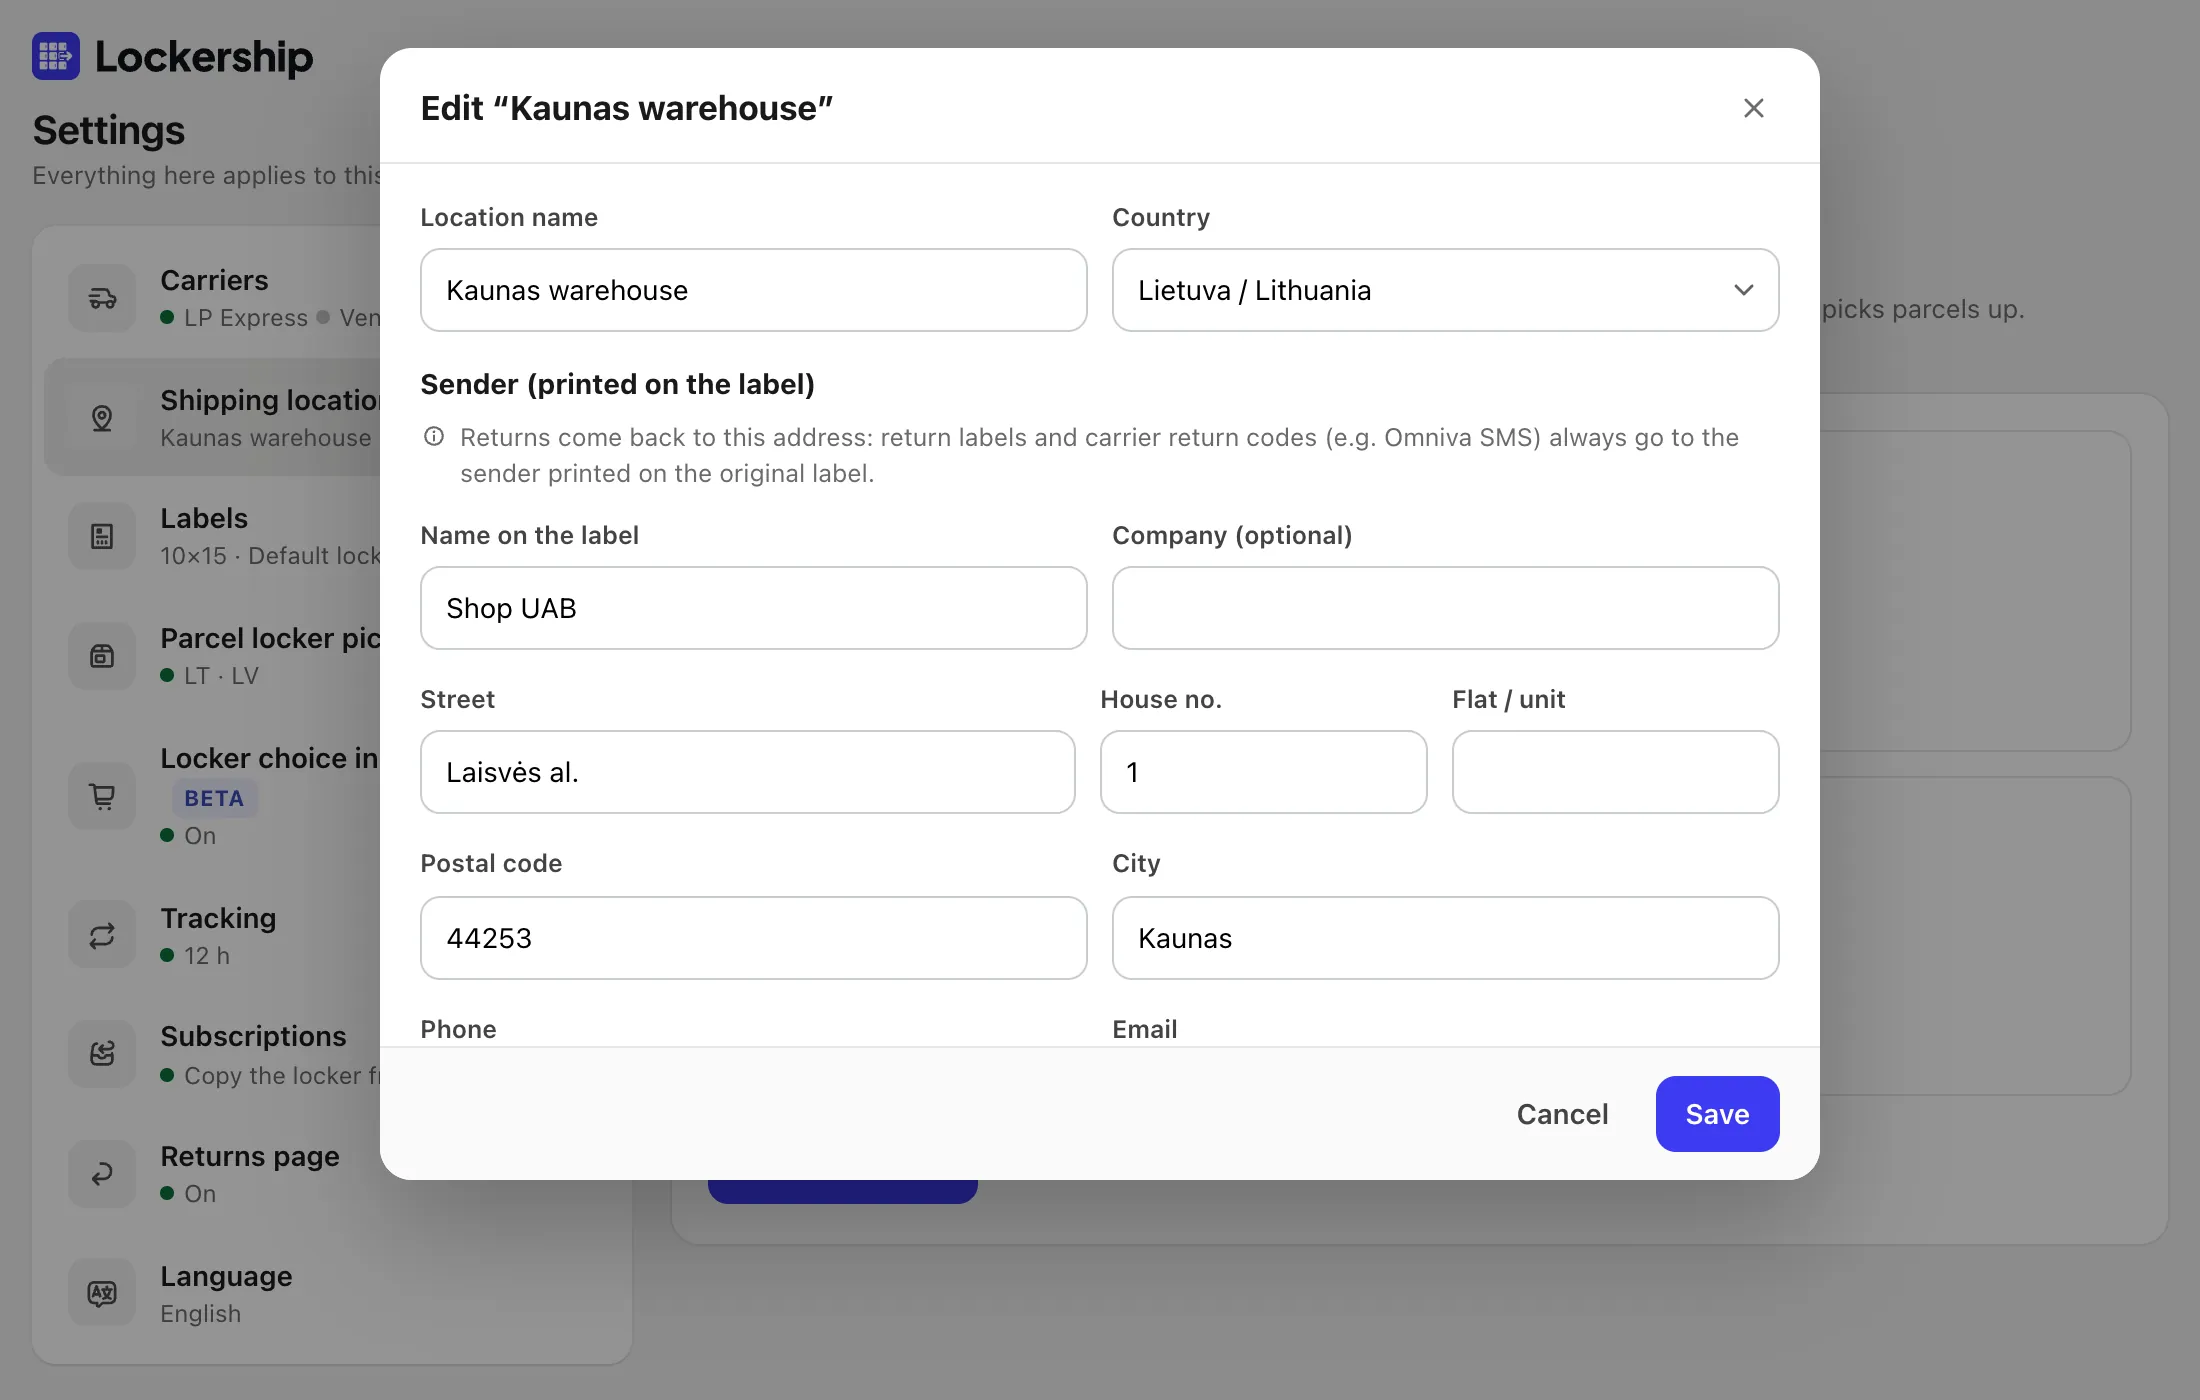
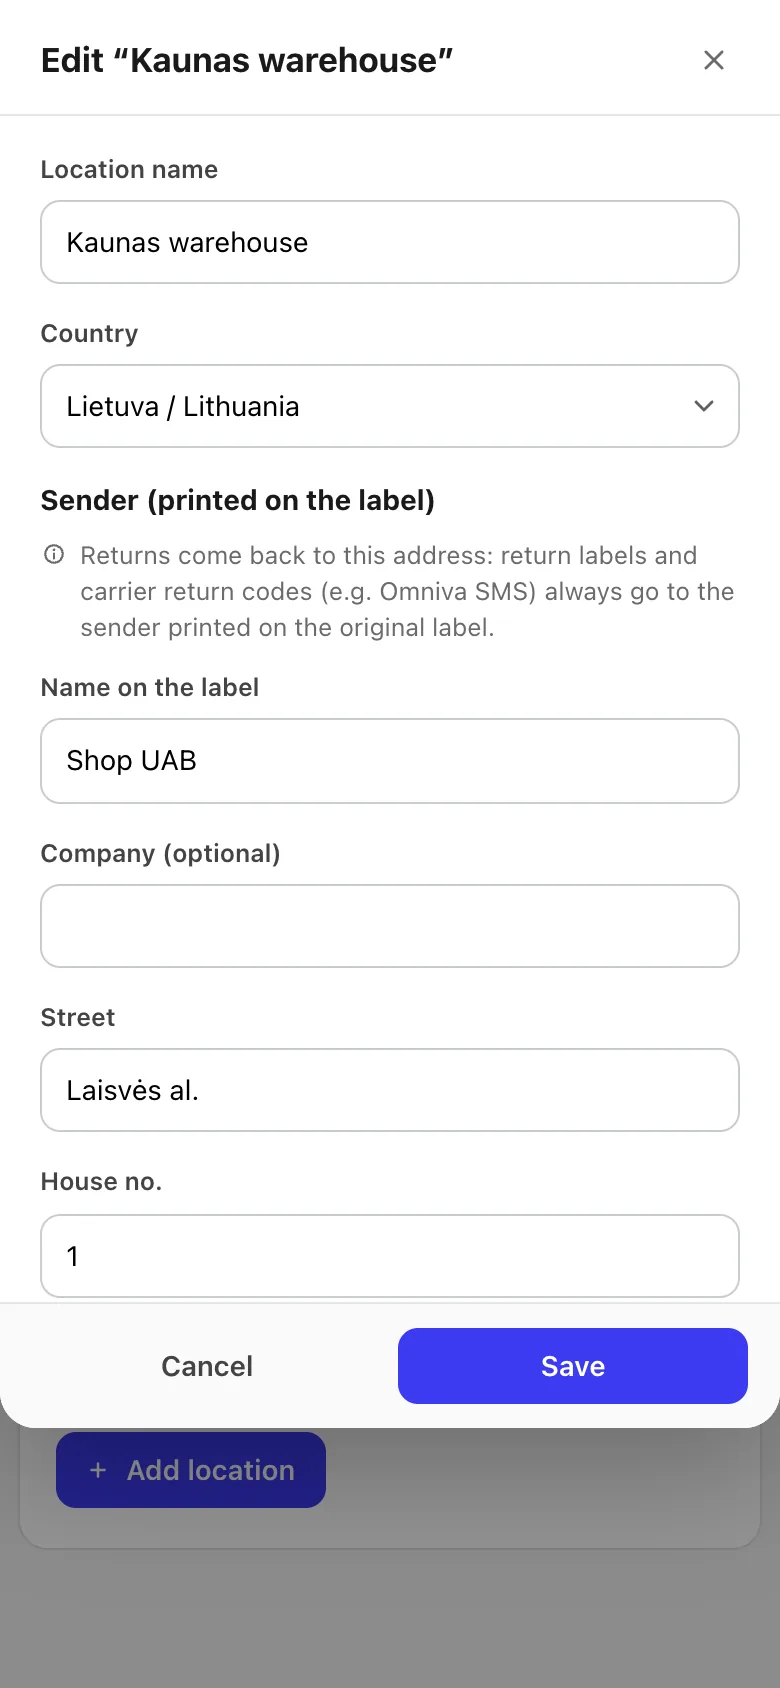
Go to Settings → Shipping locations → Add location. Give it a name, choose the country and fill in the sender: name, street, house number, postal code, city and phone in +370/+371/+372 format.
- 3
Check the sender address
The sender printed on the label is where carrier returns go back to, including Omniva’s automatic return codes. If the courier collects somewhere else, turn off “Courier picks up from the same address” and add the pick-up address. Lockership shows a warning when the two differ.
- 4
Add more locations if you need them
One per warehouse or shop. Mark one as default; you can switch the location at the top of the Shipments list before creating labels.
Try Lockership on your store before it reaches the App Store
We are starting with a small group of Shopify stores in Lithuania, Latvia and Estonia. Leave your email, and I will help you connect your carriers.